Spring Planting and Garden Prep
This week we’ve invited the dads behind the website to share their best home improvement and maintenance tips and tricks with our readers.
Please note that this post contains affiliate links. We believe in these items, and we may receive a commission at no cost to you from items purchased through this post, which helps us continue to provide free content. To learn more about how we choose products and other policies, please visit our full disclosure page here. Thank you for supporting us in this way!
Despite being a city dweller most of my life, somehow I found myself moving to a piece of land in Florence seven years ago. My wife fell in love with the three-bedroom farmhouse and surrounding eight acres and warned me that if I ever decided to sell, I would have to tell the buyers that the house “comes with a Tiffany.” I guess she won’t be going with me.
My wife, two kids, and I have made the most of our farm life. We have chickens and a “barn cat,” but the intricacies of planting and growing food have alluded us. Nevertheless, with COVID-19 looming over our collective psyches, making us more aware of our dependence on a food supply chain that is out of our control, my wife and I decided this would be the year we would tackle a garden. We started with seeds: watermelon, spinach, lettuce, bell pepper, basil, cilantro, and for some reason flowers… I guess if push comes to shove, we can eat those.
We decided to plant in raised planter boxes. I used this tutorial, but our boxes are 3x6 instead of 4x8, and I used L-brackets to attach the lumber at the corners instead of drilling them directly.
Once the planter box frames are assembled, it’s time to place them and prep them for planting. Choose a place close enough to your home that irrigation won't be an issue but far enough away that it is out of the shadow of the home, so there’s plenty of access to south-facing sun. As the sun rises in the east and sets in the west, the south side of any house will see the most hours of sunlight during the day.
Turn the topsoil. This was easy work with a rake and shovel because there’s a lot of moisture in the ground right now. Some gardeners choose to put a barrier like cardboard between the earth and the new topsoil to keep existing plants from invading your new garden space. Removing the topsoil and allowing it to bake in the sun for a couple of weeks also does the trick.
You’ll want to get a delivery of soil or buy it bagged at a local nursery. It’s always a good idea to overfill the beds because over time the soil will settle. We decided to get a soil delivery because we knew there were other places we wanted to use soil, like the flower garden that is adjacent to our home and the potted plants on the porch.
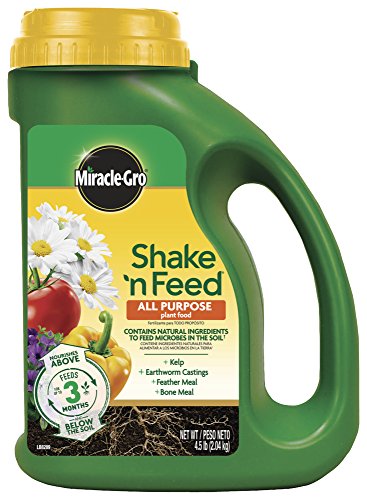
Healthy soil makes for healthy plants, so enhance the nutrients in your soil with a garden fertilizer.
Then, it’s time to plant. To read about starting seedlings indoors, click here.
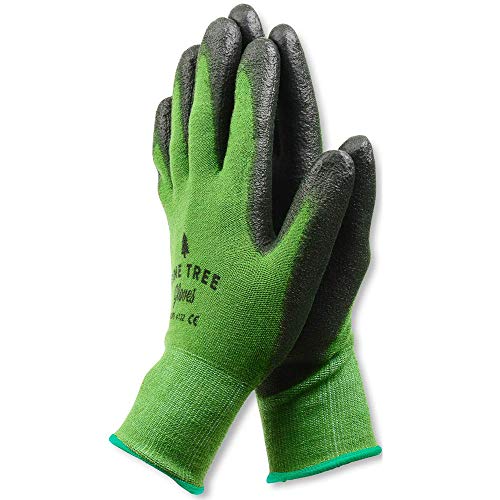
Here’s some supplies to make the job a little easier.
Fiskars has a line of ergonomical gardening tools that make playing in the dirt fun and comfortable.
Plants get their nutrients from sun, water, and soil. Plant food helps the plants continue to thrive even when the soil’s nutrients get depleted. Shake this plant food on to keep your produce growing strong throughout the summer.


